
The chevron pattern is a design of elegance and simplicity that has been showing up everywhere. I have created an easy tutorial showing how to create your own chevron pattern in Illustrator. Be careful, obsession with chevrons can spread like wildfire!
If you don’t already have Illustrator, you can download a free 30 day trial of Illustrator from Adobe. All keyboard shortcuts provided are for CS5 on a PC, they may vary slightly for other CS versions or Mac platform.
- Open Illustrator and create new document (CTRL + N) 12 inches by 12 inches.

- Turn on your Rulers (CTRL + R) and Grid (CTRL + “). Now snap to grid (SHIFT + CTRL + “).
- Set the stroke and fill colors to their defaults of Black and White (D).
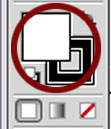
- Now change the fill to no color.

- Select the Pen Tool (P) from the tools pallet, starting one row above the art board (document) bounds, click on the top left corner then click on the bottom right corner.
 Continue to click diagonally on each 1″ square intersection until the row is completed. Then continue down to the next row, with a straight line. Keep clicking on each square intersection until you close the path.
- Using the Selection Tool (V), select your stripe by clicking on it, hold down CTRL + ALT and drag it straight down to duplicate. Release the mouse button when the duplicate stripe is in the correct position.

- Select your first stripe and change the stroke and fill colors using the color picker.
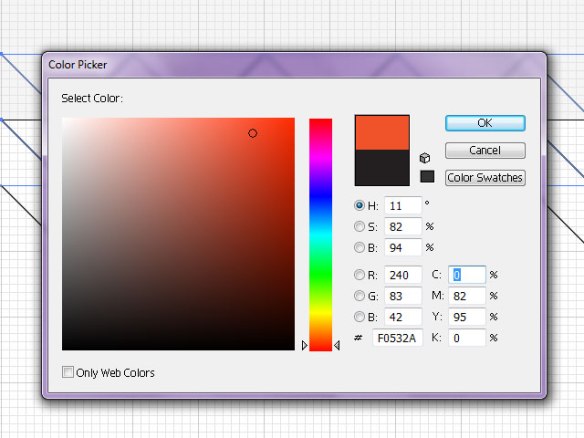
- Now select and change both the stroke and fill colors of your second stripe as mentioned above.
- Select all on active board (ALT + CTRL + A), hold down CTRL + ALT and drag your stripes straight down to duplicate. Release the mouse button when stripes are in position.

- Duplicate (CTRL + D) the pair of stripes until the pattern fills the art board.

- Save as (SHIFT + CTRL + S) an AI file.
Ta-da! That’s your basic chevron stripe. Easy wasn’t it?
But that’s not all, you can make variations, endless variations, limited only by your imagination.
![]()
![]()
![]()
To get your chevron stripe pattern from Illustrator to Photoshop, for use in your digital creations, do the following:
- With Illustrator already open on your screen, open Photoshop and then the PSD document of your choice.
- In Illustrator, select all on active board (ALT + CTRL + A).
- Drag it from Illustrator to Photoshop.
- Use as you wish.
What are you waiting for? It’s time to get your chevron on!


thanks your directions helped so much more than videos do!!! You are awesome!
Thank you! This was SO helpful! This is the 4th chevron tutorial i tried – and it is the best!